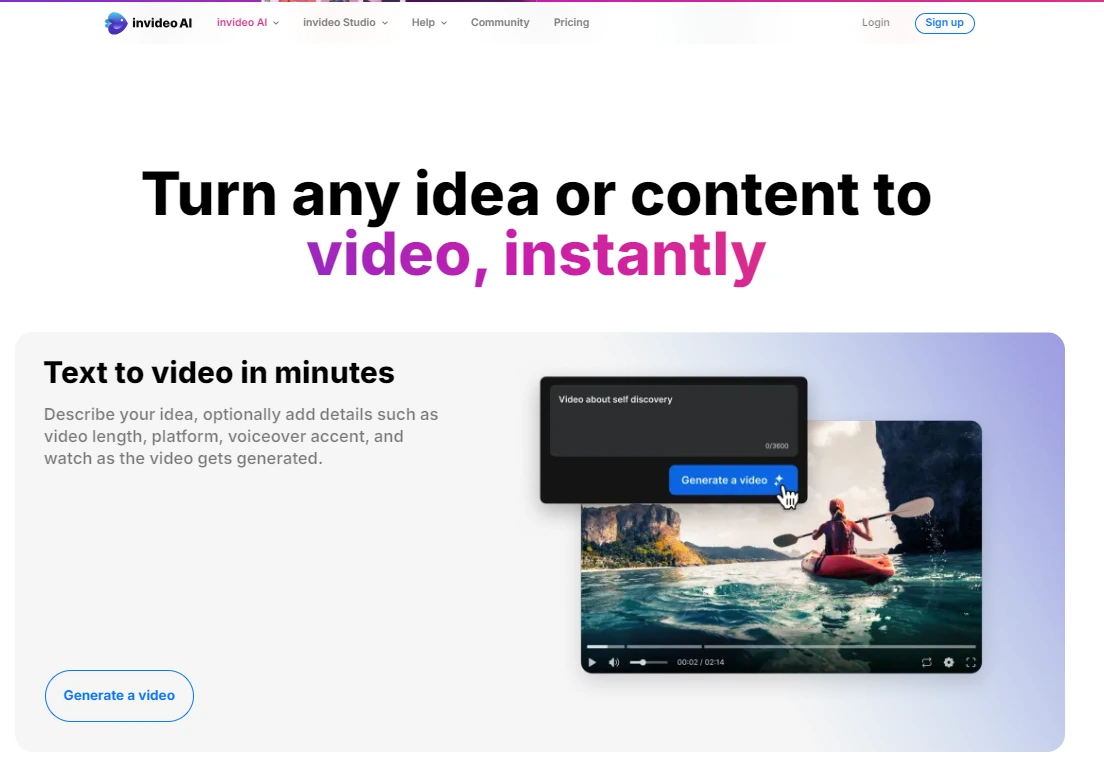
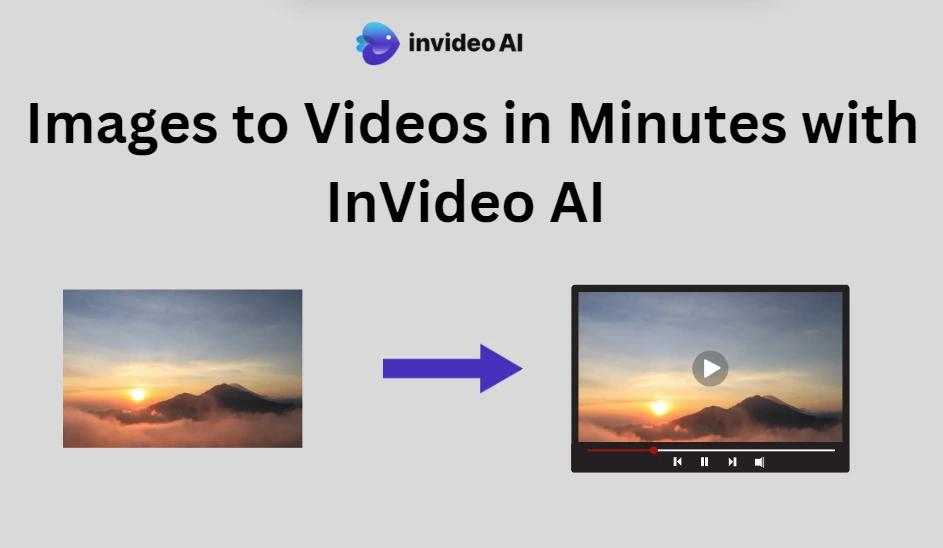
InVideo is an advanced video editing platform that leverages artificial intelligence to simplify the video creation process. The AI-powered image-to-video feature allows users to convert static images into dynamic videos with smooth transitions, eye-catching animations, and customizable text.
Whether you’re looking to create a video for social media, a product demo, or an explainer video, InVideo’s AI feature ensures that you can create professional videos in minutes—no technical skills required.

Why Choose InVideo for AI Image-to-Video Conversion?
- AI-Powered Automation: The AI helps to automate the process, suggesting transitions, effects, and text layouts.
- Extensive Library: Access to thousands of templates, stock videos, and audio tracks.
- Affordability: InVideo offers flexible pricing plans to suit all budgets.
- Scalability: Suitable for both small businesses and large enterprises.
Key Takeaway: InVideo’s AI-powered tool saves time, reduces costs, and simplifies video creation by automating tasks that would otherwise require manual effort and technical know-how.
Step-by-Step Guide: How to Create a Video Using InVideo AI
Step 1: Setting Up Your InVideo Account
- Go to the InVideo Website and sign up for a free account. You can use your email or social media account for quick registration.
- Once you’ve registered, choose a pricing plan that suits your needs. InVideo offers a free plan, but upgrading to a premium plan unlocks advanced features.
Step 2: Importing and Arranging Images
After setting up your account, it’s time to start your first project:
- Create a New Project: Click on “Create New” and select “Blank Canvas” or choose from the pre-built templates.
- Upload Images: Upload your images in high resolution. Supported formats include JPEG, PNG, and SVG.
- Arrange Your Images: Drag and drop the images into the timeline. Rearrange them according to the flow of your video.
Step 3: Choosing a Template or Starting from Scratch
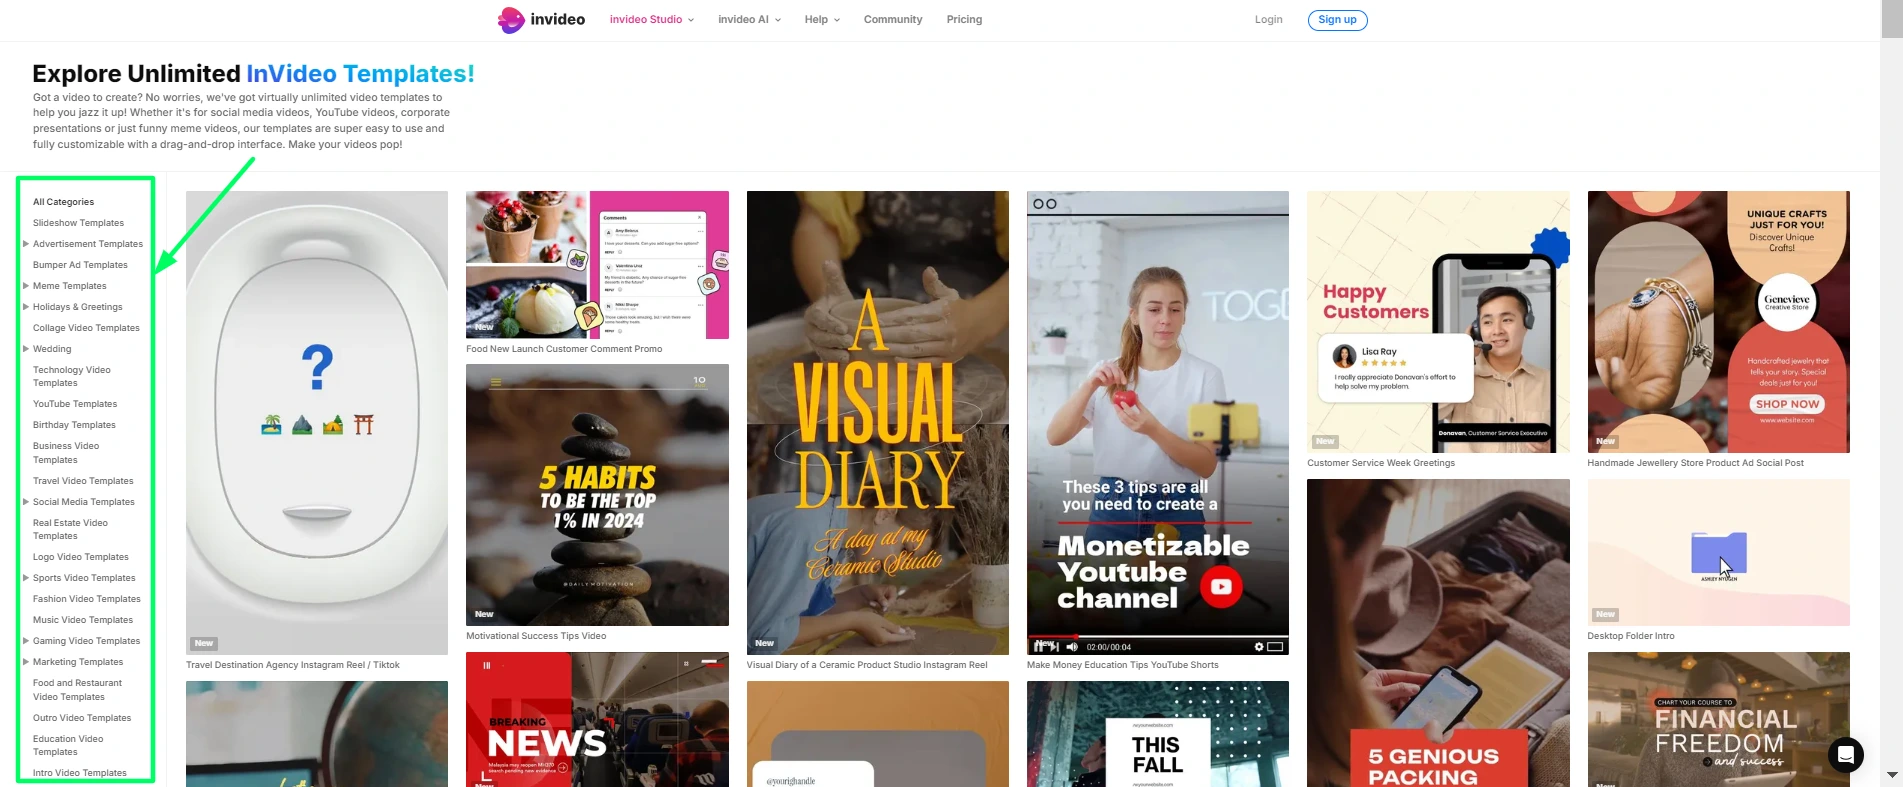
InVideo provides thousands of templates designed for different purposes. If you’re new to video creation, using a template can save time and effort. However, if you want full creative control, you can start from scratch.

Templates to Consider:
- Social Media Templates: Ideal for Instagram, Facebook, and LinkedIn posts.
- Product Demo Templates: Showcase your product features with dynamic visuals.
- Explainer Video Templates: Great for presenting complex topics in a simplified manner.
Step 4: Adding Transitions, Animations, and Effects
This is where the magic happens. InVideo’s AI will suggest transitions and animations that suit the style and flow of your video.
- Select a Transition: Choose from fade, slide, or wipe effects.
- Add Animations: Use animations to highlight important parts of your images, such as zoom-in effects for emphasis.
- Apply Effects: Experiment with different effects, such as grayscale, sepia, or blur, to set the tone.
Step 5: Incorporating Text, Audio, and Voiceovers
You can add text overlays, voiceovers, or background music to make your video more engaging:
- Text Overlays: Choose from different fonts, colors, and styles. Use text to provide context or highlight key information.
- Voiceovers: Use InVideo’s AI-powered text-to-speech tool to add a professional voiceover to your video.
- Background Music: InVideo has a library of royalty-free music. Choose a track that complements the mood of your video.
Pro Tip: Keep text overlays concise and easy to read. Avoid overcrowding the screen with too much text.
Step 6: Previewing, Editing, and Exporting Your Video
Once you’ve added all the elements, preview your video to ensure everything looks good. Make any necessary edits before exporting.
- Preview: Click on the “Preview” button to watch your video in real-time.
- Make Edits: Adjust timing, transitions, and audio levels if needed.
- Export: Choose your desired resolution (720p or 1080p) and format (MP4, MOV).
InVideo vs. Other AI Image-to-Video Tools: A Comprehensive Comparison
When choosing the right AI image-to-video tool, it’s important to know how InVideo stacks up against its competitors. Here’s a comparison to help you make an informed decision:
Canva vs. InVideo
- Ease of Use: Canva is simpler but less powerful in terms of video editing features.
- Templates: InVideo offers more video-centric templates.
- Audio Integration: InVideo has advanced audio tools that Canva lacks.
- Winner: InVideo is better for video creation, while Canva excels in graphic design.
Lumen5 vs. InVideo
- AI Capabilities: Lumen5’s AI is more focused on text-to-video, while InVideo provides a broader range of AI functionalities.
- Pricing: Lumen5 is more affordable, but InVideo offers more features for its price.
- Winner: InVideo for versatility and AI-driven features.
Advanced Tips and Best Practices for Using InVideo AI
Creating a good video is one thing; creating a great video requires some advanced strategies. Here are some pro tips:
Optimize Image Resolution and Aspect Ratio
High-resolution images result in sharper videos. Always use images that are at least 1920×1080 pixels.
- Aspect Ratios to Consider:
- 16:9 for YouTube and websites.
- 1:1 for Instagram and Facebook posts.
- 9:16 for Instagram Stories and TikTok.
Use AI Suggestions Wisely
InVideo’s AI suggestions are helpful, but always review them to ensure they align with your vision.
- Suggested Edits: The AI may suggest transitions, animations, or text placements. Use them as a guide, not a rule.
- Custom Modifications: Personalize the AI suggestions to better fit your content style.
Choose the Right Music and Voiceover
Audio is just as important as visuals. Pick background music that enhances your video’s mood.
- Best Practices: Keep audio volume low enough so it doesn’t overshadow voiceovers or text.
Customize Videos for Different Platforms
Different social media platforms have different requirements. Customize your video’s aspect ratio, text size, and length based on where you’ll be publishing it.
- Instagram: Short, visually engaging, and with minimal text.
- YouTube: Longer, informative, and structured with chapters.
Leverage AI to Enhance Quality
Use AI filters and enhancements to improve image quality, reduce noise, and optimize colors.
Frequently Asked Questions (FAQs)
Can InVideo AI be used for professional video production?
Absolutely! InVideo’s AI can handle high-quality video production, suitable for marketing campaigns, social media, and even training videos.
How does InVideo AI compare to traditional video editing tools?
InVideo’s AI simplifies tasks like adding transitions and effects, which traditional tools require manual effort for. However, traditional tools offer more granular control.
What is the cost of using InVideo’s AI Image to Video Feature?
InVideo offers a free plan with limited features. Premium plans start at $15/month, with additional discounts for annual subscriptions.
Can InVideo create videos from animated GIFs or 3D images?
Currently, InVideo supports static images and basic GIFs, but does not fully support 3D images or advanced animations.
What are the best practices for using InVideo AI Image to Video?
Use high-resolution images, keep text concise, and leverage AI suggestions for smoother transitions.


